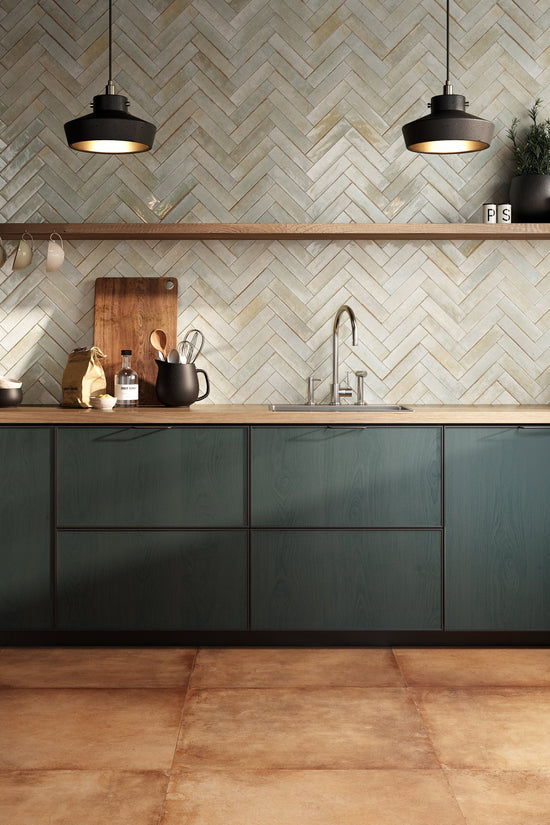
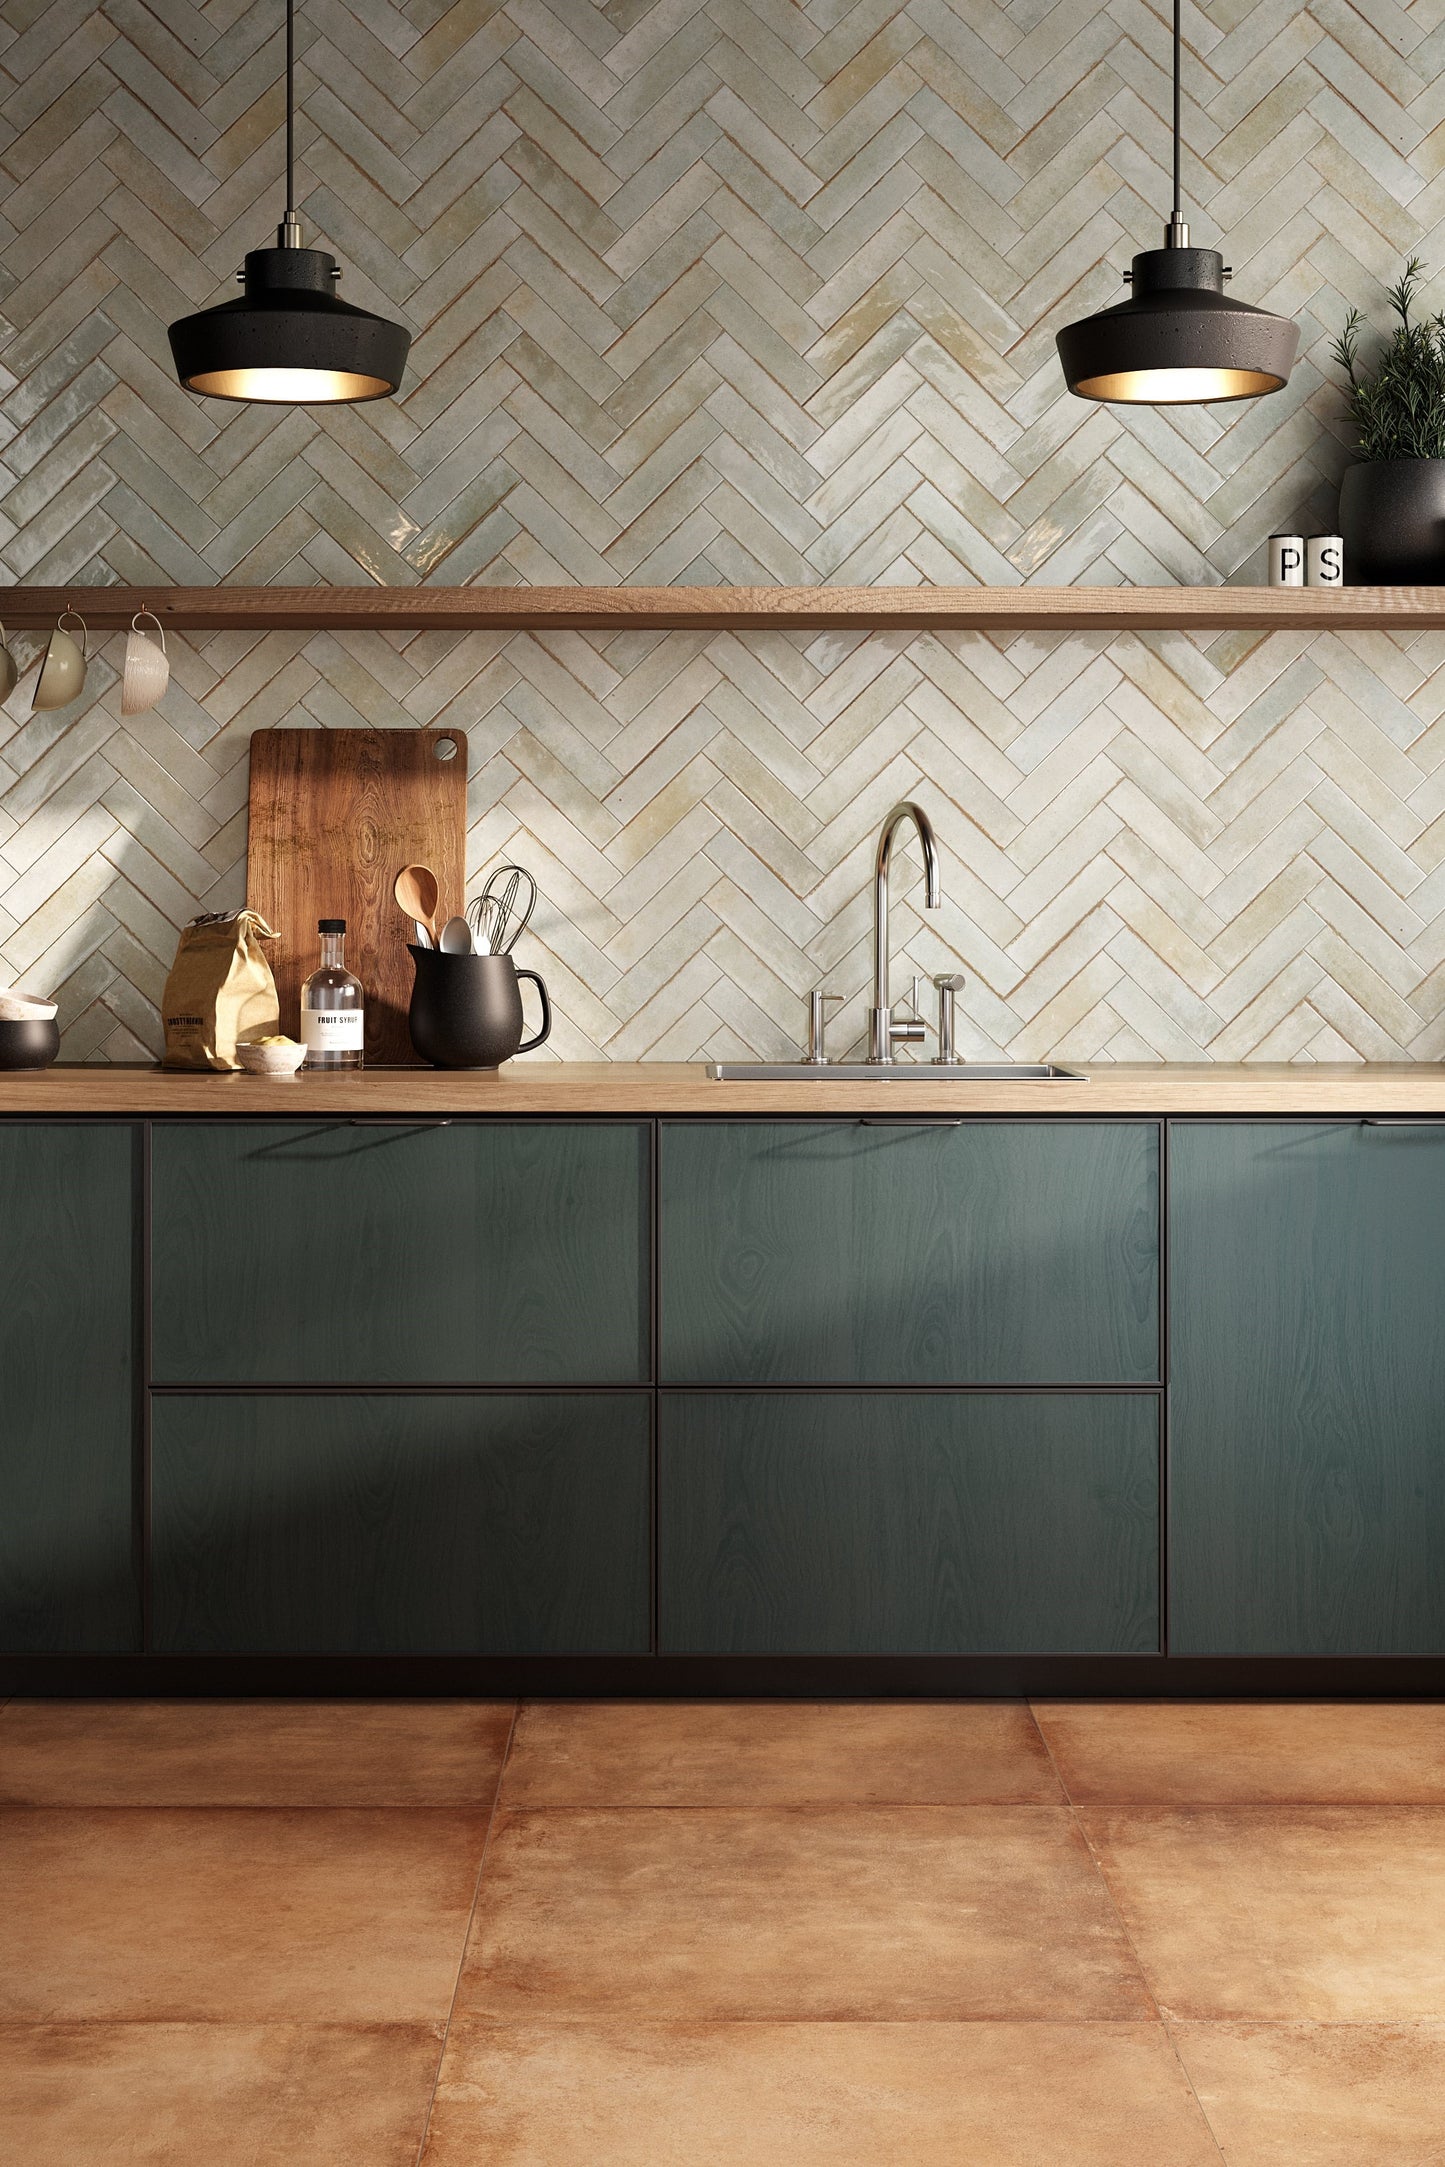

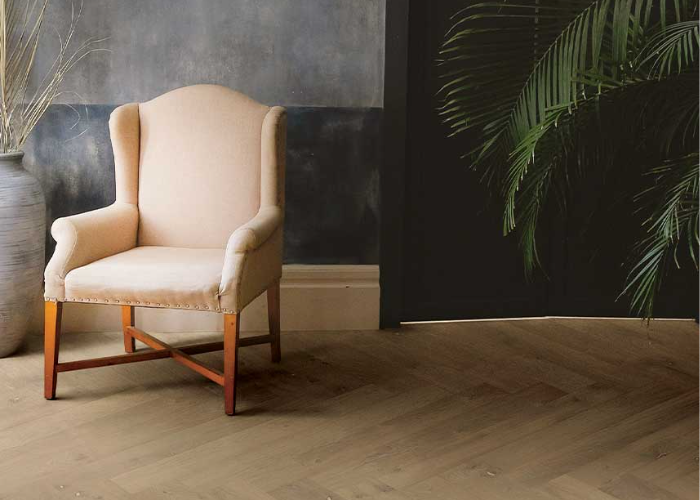


For starters, Terracotta is a natural material. So, it is to be expected that it will vary in tone, shade, colour, and thickness. No tile will ever be the same and honestly, that’s the beauty of terracotta it is meant to have this natural variation to create that warmth and vibrancy in your space.
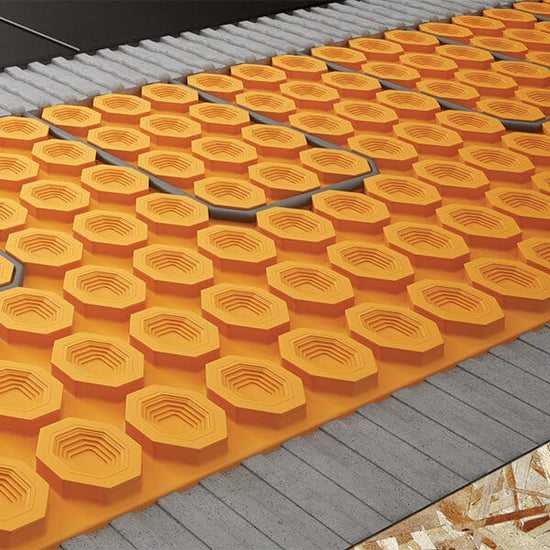
But again, it is a natural material therefore are some things important to note when we talk about installation, maintenance, and overall longevity of your terracotta tiles.
Why is it important to seal my terracotta?
Terracotta tiles are naturally porous, meaning they act like a sponge and any water or oil-based contaminants can be readily absorbed by the tiles. If left unsealed, your terracotta tiles would deteriorate and the staining would be challenging to remove. Sealing adds a level of protection to your tiles – and this will help prevent staining, make them easier to clean, and extend their overall lifespan.
Importantly, part of the sealing process must be done before grouting. Otherwise, if you start grouting before sealing – the grout pigment will be absorbed due to the natural porosity of the tile and will cause your tiles to develop a hazy appearance when finished.
There are two different methods of achieving a finished and sealed terracotta tile. A liquid sealant method gives a more natural look, whereas a boiled linseed oil and wax method provides a more antique look.
Natural Look
This method is designed to retain the natural colour and feel of the raw terracotta.
Method 1) Liquid Sealant Method using FILA Products
- Before grouting your terracotta tiles, it is recommended to clean them with an acid-based cleaning product called File Deterdek to remove any building or adhesive residue.
- After the tiles have been cleaned and no salts or adhesive residue remain, use a pre-grouting impregnator called Fila PRW200, applying it with a flat paintbrush, fully saturating the surface. Allow the impregnator to dry for 24 hours.
- Once the impregnator is dry, you can grout the terracotta tiles. Be sure to remove as much grout residue as possible with clean water and let the grout set for 24 hours.
- After the grout has been set, use Fila Deterdek with a light abrasive emulsifying sponge or white nylon bristle brush to remove any remaining grout residue. Ensure to wash and sponge away any excess liquid with a bucket of clean water.
- Once the terracotta tiles are completely dry, seal them with two coats of Fila MP90 or Fila W68. Use a flat paintbrush or roller to apply the sealer, wait 15 minutes, and apply a second coat. Fully saturate the surface with each coat. Allow the product to be absorbed into the terracotta without trying to work it in. Use a damp, wrung-out cloth to remove any excess.
Method 2) Liquid Sealant Method using Sarsen Products
When purchasing our best-selling Marlborough Terracotta, our supplier Ca'Pietra supplies their recommended sealing products to best ensure the longevity of your new terracotta floor.
- Before sealing your terracotta tiles it is important to give your tiles a deep clean to help remove any dirt or residue that has built up during that installation period. The best product for this job is the Sarsen Home Deep Clean.
- Dilute the Home Deep Clean Solution using the ratio 1:10 (1 liter of product with 10 liters of warm water). Start working in manageable areas at a time - spreading out the solution. Leave the solution on the tiles for 5-10 minutes.
- Add a little water and then scrub surfaces using a white pad and pad holder to release any loose sediment dirt and grime. Use a clean sponge to up any remaining residues. Rinse with water a second time and sponge again.
- Allow the surface to completely dry before allowing sealing to begin.
- Once the surface is completely dry it's time for the Sarsen Home Stain Block Eco sealer to help protect against any stains - this must be done before grouting. Generously apply the sealer to the surface. Spread out evenly using a good-quality paint brush roller or a pump sprayer.
- Allow the surface to absorb and dry then repeat after 2 hours.
- Leave sealer to cure overnight before grouting the joints.
- Once grouting is done apply the finishing solution to the surface with the Sarsen Home Stone Shield. Spread the solution out evenly using a clean sealant applicator pad or paint roller.
- Allow this to dry - do not walk on the surface during drying time (approx. 45 minutes)
- Apply further coats until the desired finish has been achieved. Keep off the surface until the final coat is completely dry (approx. 4 hours).
After following this process, you will have the achieved sufficient stain protection, whilst retaining the natural beauty of the terracotta.
Antique Look
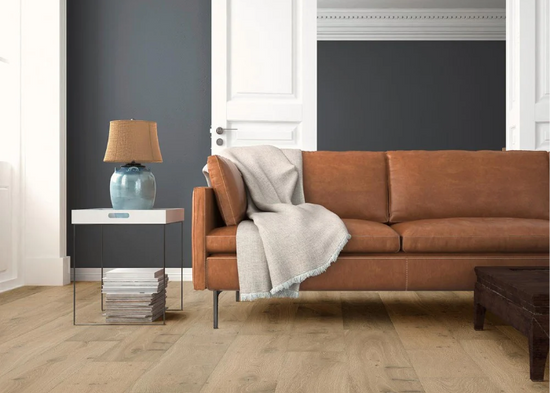
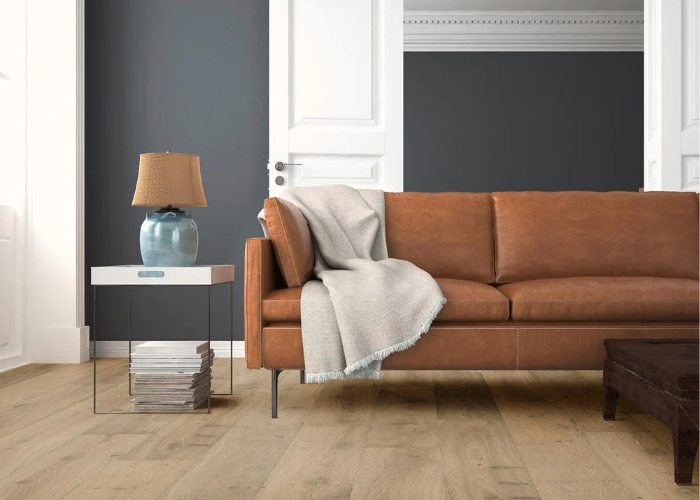
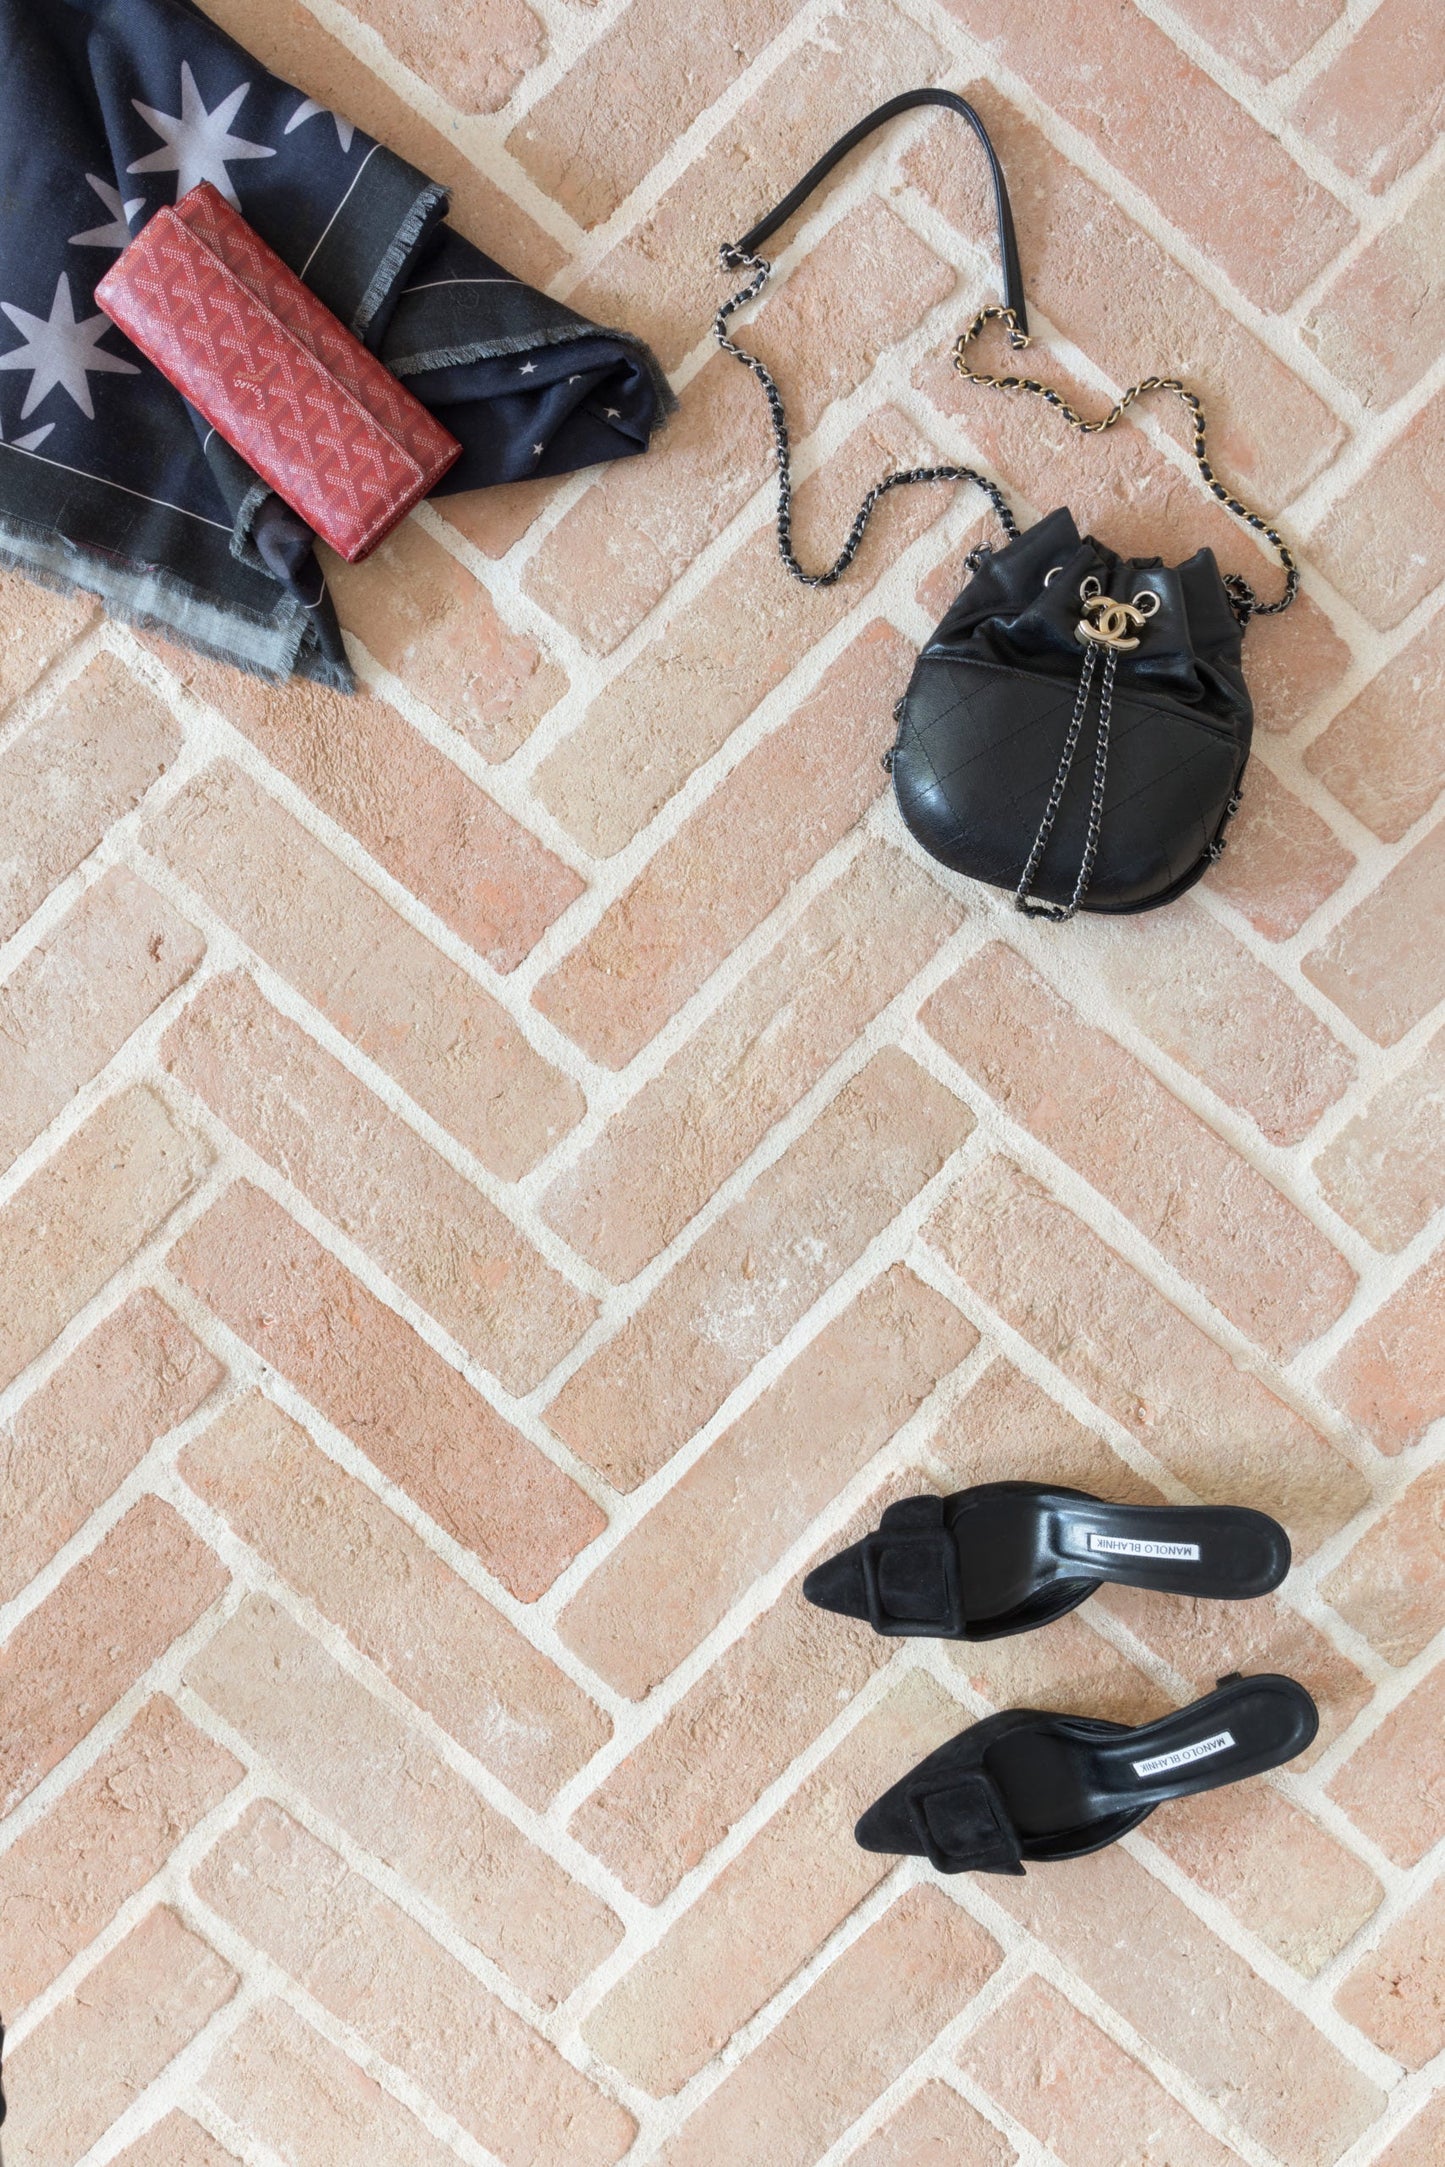
This method is designed to make the terracotta look more aged look where the wax enhances the rich tones of the terracotta to give the impression that the stone has been installed for many years. Please see the picture below.
Method 1) Boiled Linseed Oil and Wax Method with LTP Products
- Start by cleaning the terracotta tiles thoroughly with cleaning solution LTP Grimex (1:10 - 1 Liter of product to 10 Liters of warm water) to remove any dirt or grime. Working in manageable areas at a time - spreading out solutions. Leave for 15 minutes. Then scrub surfaces using a white pad and pad holder to release any loose sediment dirt and grime. Sponge up the released residues.
- Once the tiles are clean and dry, apply a coat of LTP Boiled Linseed Oil to the surface using a paintbrush or roller. Be sure to cover the entire surface and work the oil into the pores of the terracotta. Apply further coats at 4-hour intervals until the terracotta is fully saturated.
- 1 hour after applying the final coat of oil, dry buff the surface using an absorbent towel to remove any excess. Allow the surface to dry completely minimum of 12 hours before waxing.
- Once the surface is completely dry, apply a coat of LTP Antique Wax to the surface using a clean, soft cloth. Be sure to work the wax into the surface of the terracotta, covering the entire surface.
- Allow the wax to dry for about 20 minutes, then buff the surface with a clean, soft cloth to shine.
- If you desire to add more shine you can repeat steps 4 and step 5
- To maintain the seal, you can reapply wax as necessary and avoid using acidic or abrasive cleaners on the waxed terracotta tiles.
Method 2) Boiled Linseed Oil and Wax Method with Sarsen Products
- Start by cleaning the terracotta tiles thoroughly with the cleaning solution Sarsen Home Deep Clean (1:10 - 1 Liter of product to 10 Liters of warm water) to remove any dirt or grime. Working in manageable areas at a time - spreading out solutions. Leave for 15 minutes. Then scrub surfaces using a white pad and pad holder to release any loose sediment dirt and grime. Sponge up the released residues.
- Once the tiles are clean and dry, apply a coat of Sarsen Home Boiled Linseed Oil to the surface using a paintbrush or roller. Be sure to cover the entire surface and work the oil into the pores of the terracotta and sealer to be absorbed naturally by the tile.
- Allow the surface to dry completely minimum of 12 hours before waxing.
- Once the surface is completely dry, apply a generous coat of Sarsen Home Beeswax Antique Wax to the surface using a clean, soft cloth. Be sure to work the wax into the surface of the terracotta, covering the entire surface.
- Allow the wax to dry for about 20 minutes, then buff the surface with a clean, soft cloth to shine then grout the joints.
- Once residual grout has been removed with Sarsen Home Cement, Grout & Salt Residue Remover after 12 hours apply a further coat of wax covering the joints as well.
- Leave the wax for 20 minutes and then buff to shine with a stiff brush. Allow light traffic for the first 12 hours - do not wash the surface for 3 days after finishing the waxing.
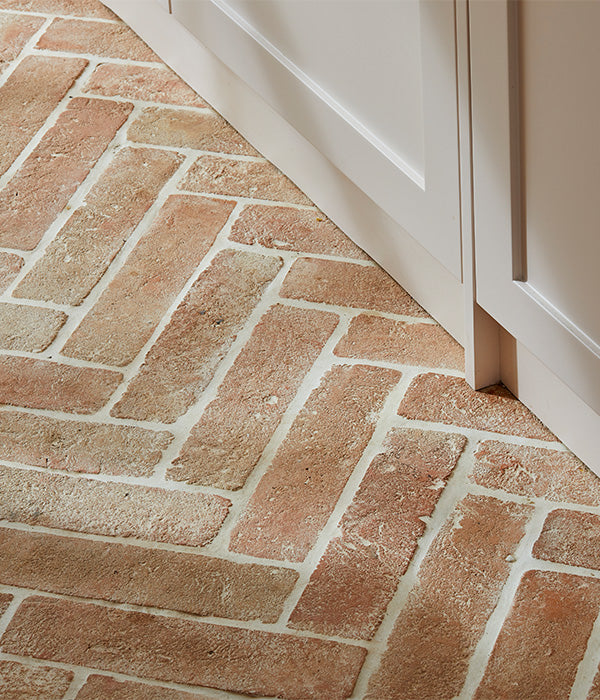
When everything is done your terracotta tiles should look aged and lived in.

Note: It is always recommended to test the product first on a small area or inconspicuous area to see the final result, different types of terracotta may react differently.
Will I ever have to reseal my tiles?
Yes, you will need to reseal – unfortunately, no good things last forever and your sealer, will naturally break down due to wear and tear and the cleaning regime you adopt.
High-traffic areas such as hallways, kitchens, living rooms anywhere there is a high level of movement every day – it is strongly recommended to reseal everything within 18 months or so. Low-traffic areas such as bathroom panels, and kitchen splashbacks any areas that have a low level of movement you may only need to reseal everything within 4-5 years – however, this is dependent on how you take care of your tiles.
Everyday Maintenance Of Terracotta Tiles.
You have done the work hard - the tiles have been installed, and you have made sure to seal them correctly, adding that level of protection you need to ensure that hard work doesn’t go to waste. Let’s ensure that those tiles still look as good as when they were freshly installed.
It’s important to use the right products to help maintain your tiles but also improve the longevity of your tile’s life span as well. For regular maintenance, it is best to use a high-quality pH-neutral cleaner such as Fila Cleaner Pro which is safe for use on all types of porcelain, ceramic, and natural stone tiles such as terracotta.
Fila Cleaner Pro also protects the wax finishes that have been applied during the sealing process which will help maintain the longevity of the finish.
How To Use the FILA CLEANER PRO
- Dilute CLEANER PRO at 1:200 (25 ml of product in 5 Liters of water). No need to rinse. For more stubborn dirt, wash using more concentrated solutions.
- Wipe over the floor with a soft single-disc floor scrubber or scrubbing brush. Remove any residues using a liquid vacuum cleaner or cloth.
- Rinse after cleaning.

In conclusion, terracotta is a beautiful natural material that's why it must have that love and attention from the start. Ensuring that you seal your tiles properly and use the right products to maintain your tiles, your terracotta should stand the test of time.
If you require further assistance or just want to chat all things terracotta, please enquire by calling either one of the showrooms, chatting with us online, or pop in to our showrooms. Our lovely team at European Heritage is here to assist.